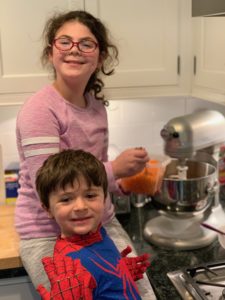
My daughter asked for carrot cupcakes the other day, of course I obliged. I usually bake right out of my own cookbooks, The Confetti Cakes Cookbook or Confetti Cakes for Kids but this time a light bulb went off. My thoughts quickly went into rewind and looked through my old Rolodex (in my head!) I love the carrot cake that is featured in my kids’ book- it is perfectly engineered for sculpted cakes but I remembered making a different cake recipe that I found on the internet in 1999 (yes, I’m that old!) I have no idea how I found it but someone from Carnegie Mellon School of Computer Science had posted it. Let me repeat, it is NOT to be used for sculpted cakes (there is a story here about a total cake disaster…) This cake is filled with so much moistness that it just “falls apart” in your mouth- not great for a sculpted Juke Box…(ahem) if someone asked me to make one …maybe…a long time ago…like 21 years ago before I knew what I was doing!*
(*I will save that story for a different post!)
I’m embarrassed to say that I did not take a fabulous photo of the inside of these cupcakes but a friend of mine did so his photo is posted here!
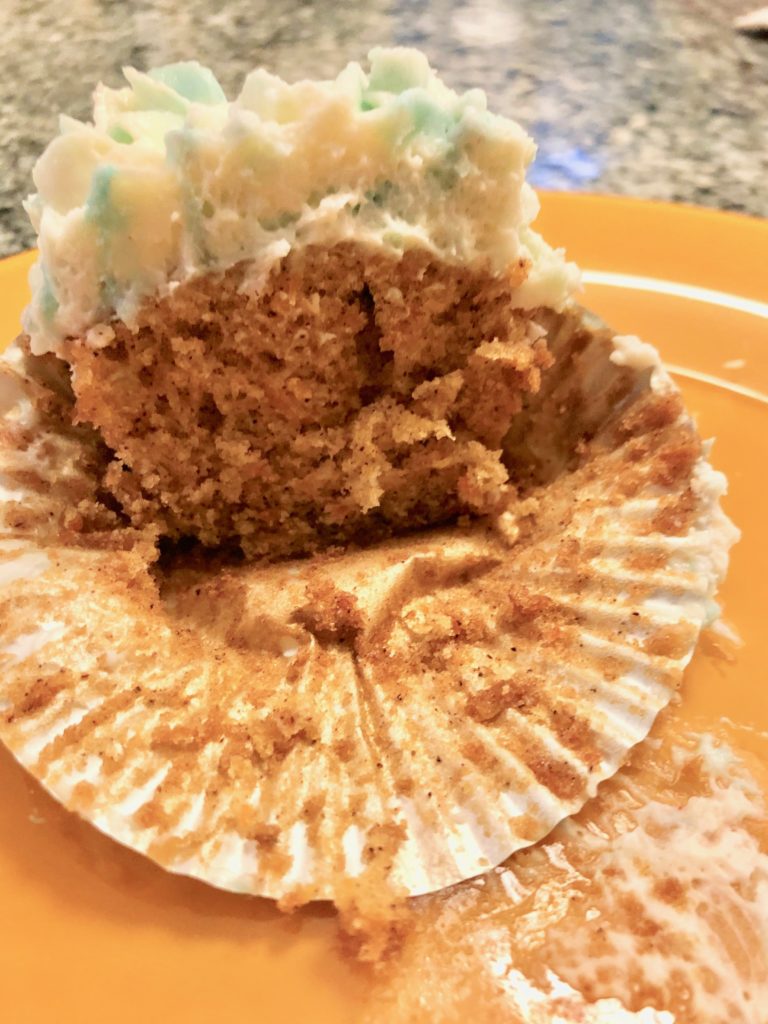
I promise they are delicious. My kids ( 🙄 ) had me leave OUT all of the raisins, pineapple and coconut….hey at least they have CARROTS!!! But with or without the extra ingredients they are amazing!
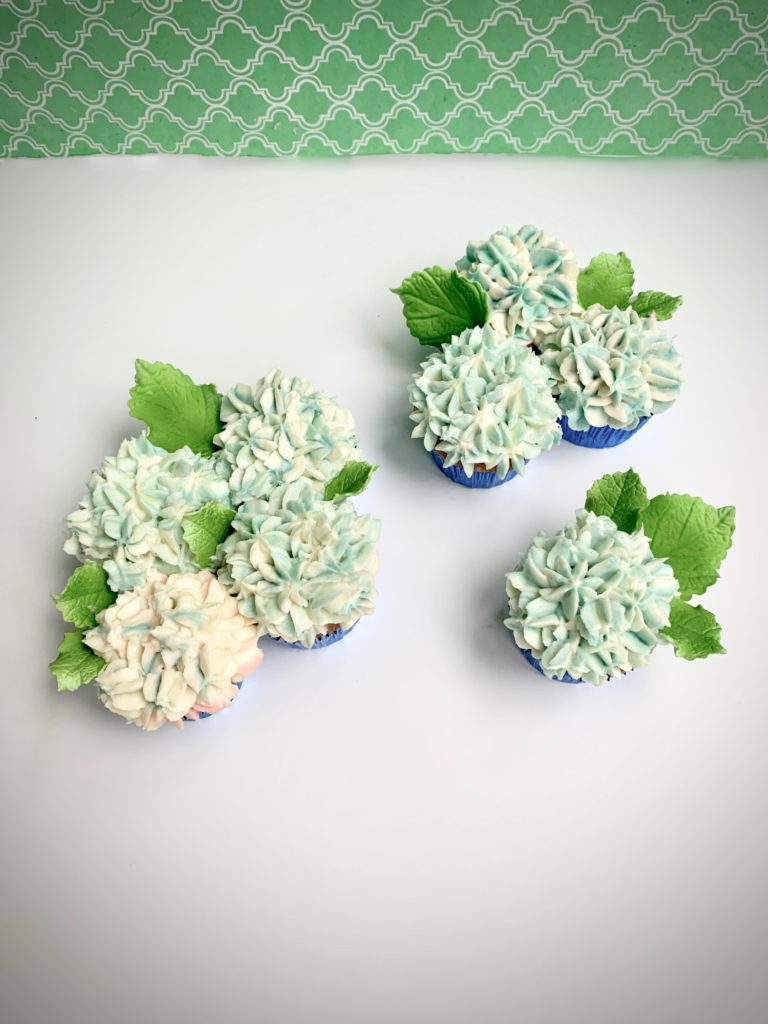
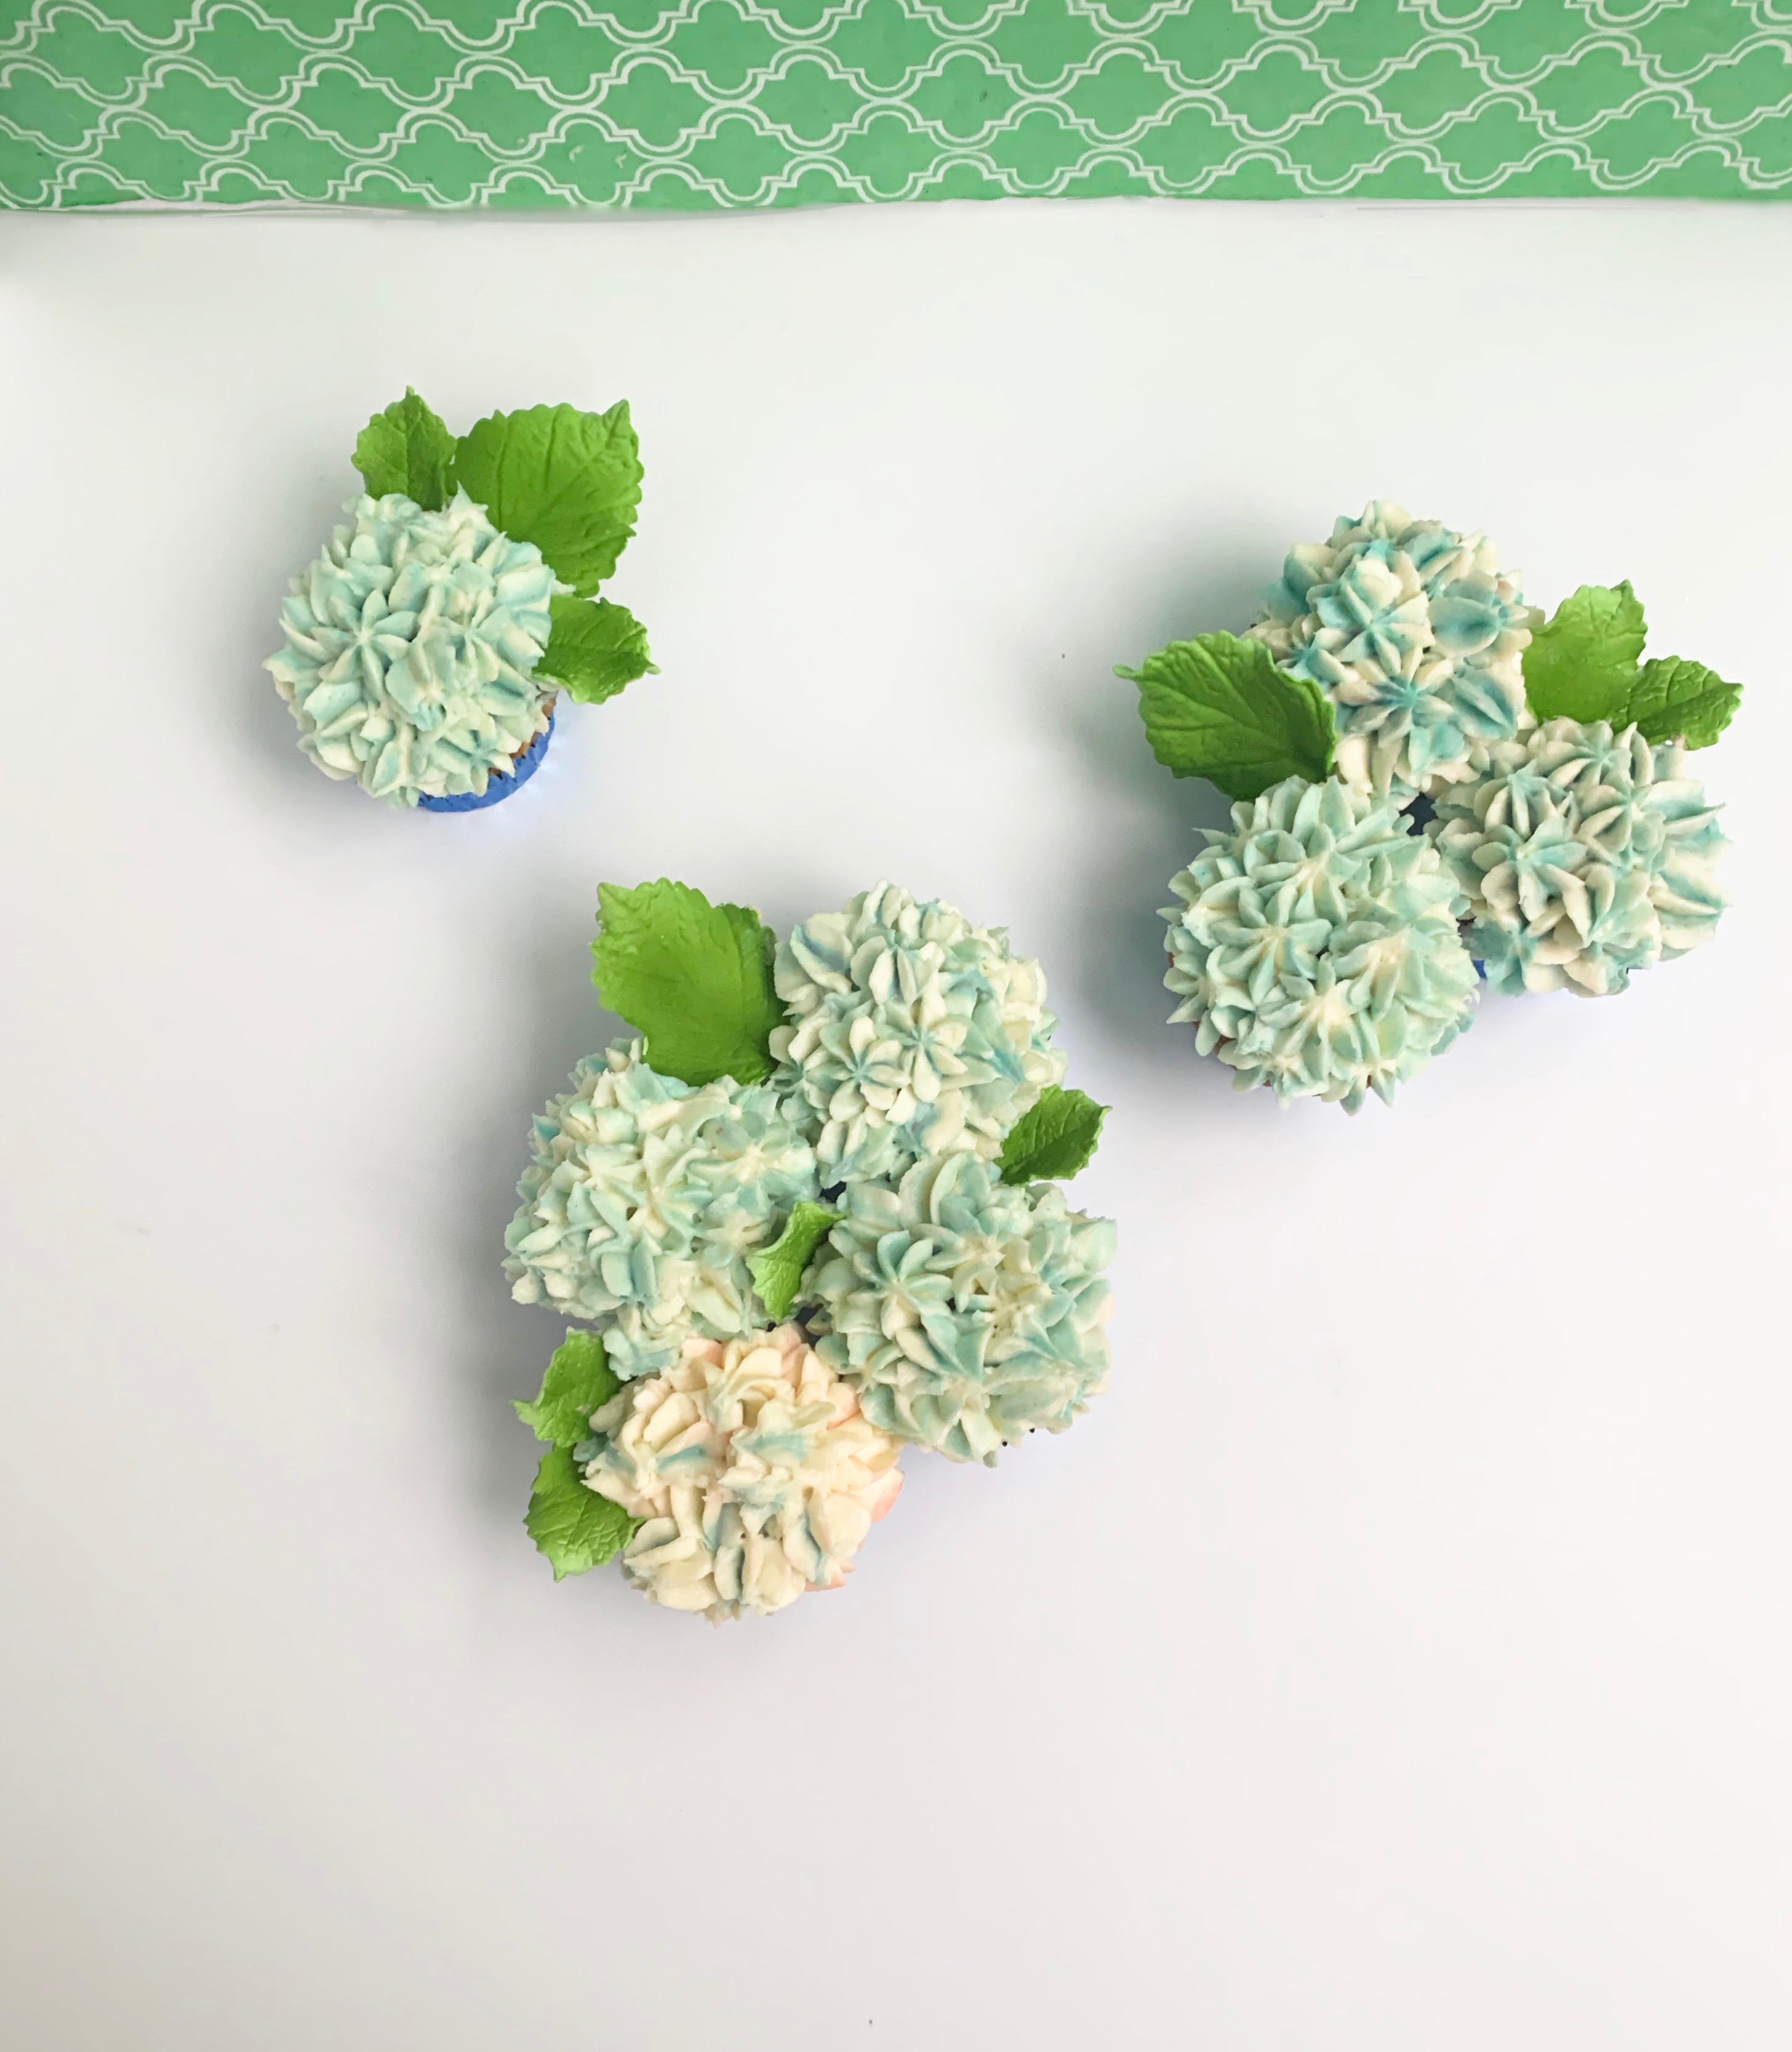
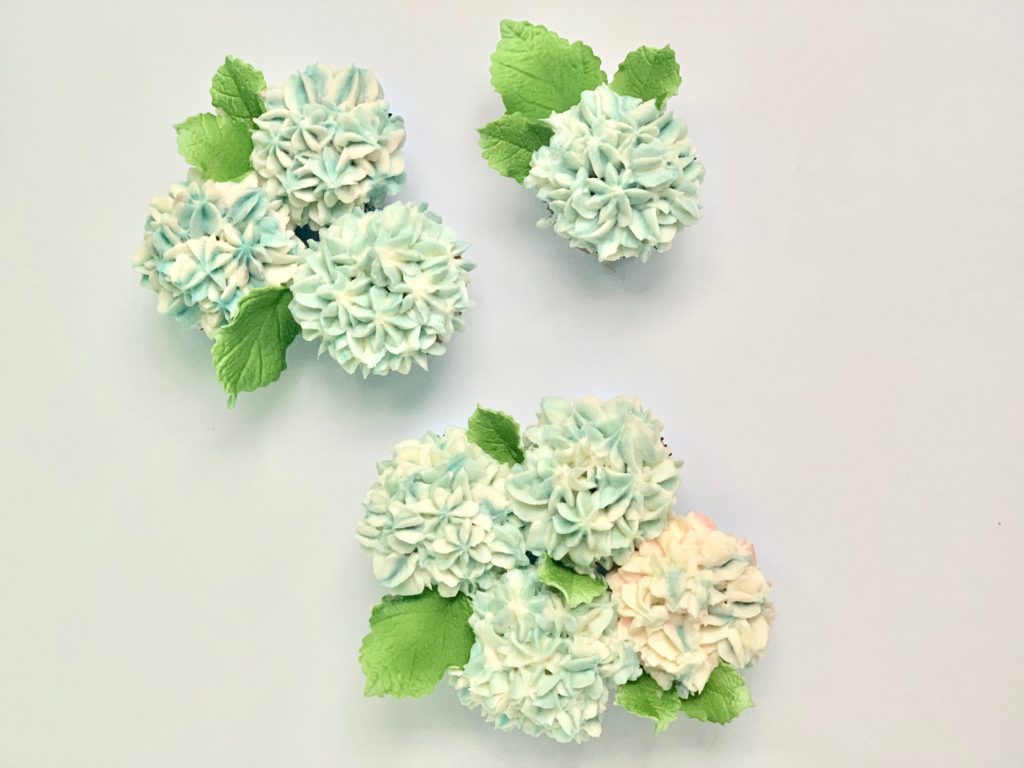
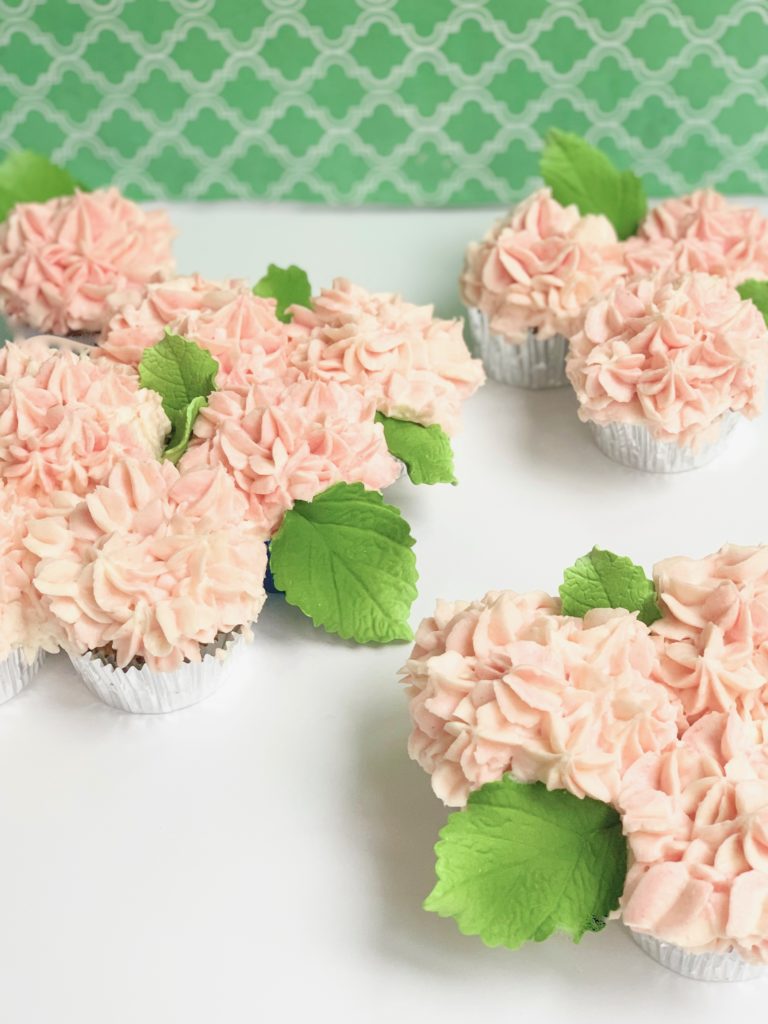
The frosting can be a simple swirl, or this time I tried something new…just because it’s spring. I promise this too is super simple.
Equipment listed below.
Let me know if you try it.
Super Moist Carrot Cake
Makes approximately three 9-inch cake pans, or 36 cupcakes
Ingredients:
- All-purpose flour: 2 cups
- Baking powder: 2 teaspoons
- Baking soda: 1 1/2 teaspoons
- Salt: 1 teaspoon
- Cinnamon: 2 1/2 teaspoons
- Large Eggs: 4
- Vegetable oil: 1 1/2 cups
- Sugar: 2 cups
- Grated carrots: 2 3/4 cups
- One 8-ounce can of crushed pineapple (drained)
- Walnuts or pecans: 3/4 cup chopped
- Shredded sweetened coconut: 1 cup
Method:
- Preheat oven to 350 degrees.
- Prepare pans. (I prefer to grease pans and place a layer of parchment and grease on top of the parchment as well. Or line cupcake pans with wrappers.)
- Combine flour, baking powder, baking soda, salt and cinnamon. Whisk together and set aside.
- In a large bowl or mixer bowl, mix sugar, oil and eggs.
- Add the flour mixture a little at a time, mixing well after each addition.
- Add carrots, Pineapple, nuts and coconut. Blend thoroughly.
- Turn into pans. For cupcakes I use an ice-cream scoop to fill half way up the liner. For 9-inch pans, divide every between the three pans.
- Bake cake for approx. 35-40 minutes, cupcakes check after 15 minutes and rotate pans.
- Let cool while you make the frosting.
FROSTING:
A note about the frosting. You can absolutely make a straight up cream cheese frosting from any book and the cupcakes will taste great. But if you want to make the best ever whipped cream cheese frosting from Florence Fabricant of The New York Times. She called me up herself to feature my Red Velvet Recipe in the paper but she changed the frosting to this one. I have to say I agree with her- this is better then my original. I promise it is worth the extra ingredients and it takes just 15 minutes.
Whipped Cream- Cream Cheese Frosting
- 2 cups heavy cream, cold
- 12 ounces cream cheese, at room temperature
- 12 ounces mascarpone
- 1/2 teaspoon vanilla (I use more)
- 2 cups confectioners’ sugar
Method:
- Step 1: Softly whip cream to soft peaks. Cover in bowl and refrigerate
- Step 2: Blend cream cheese and mascarpone in mixer until smooth. Add vanilla, and gradually add confectioners’ sugar. Blend well.
- Step 3: Transfer cream cheese mixture to bowl; fold in whipped cream. Refrigerate until needed.
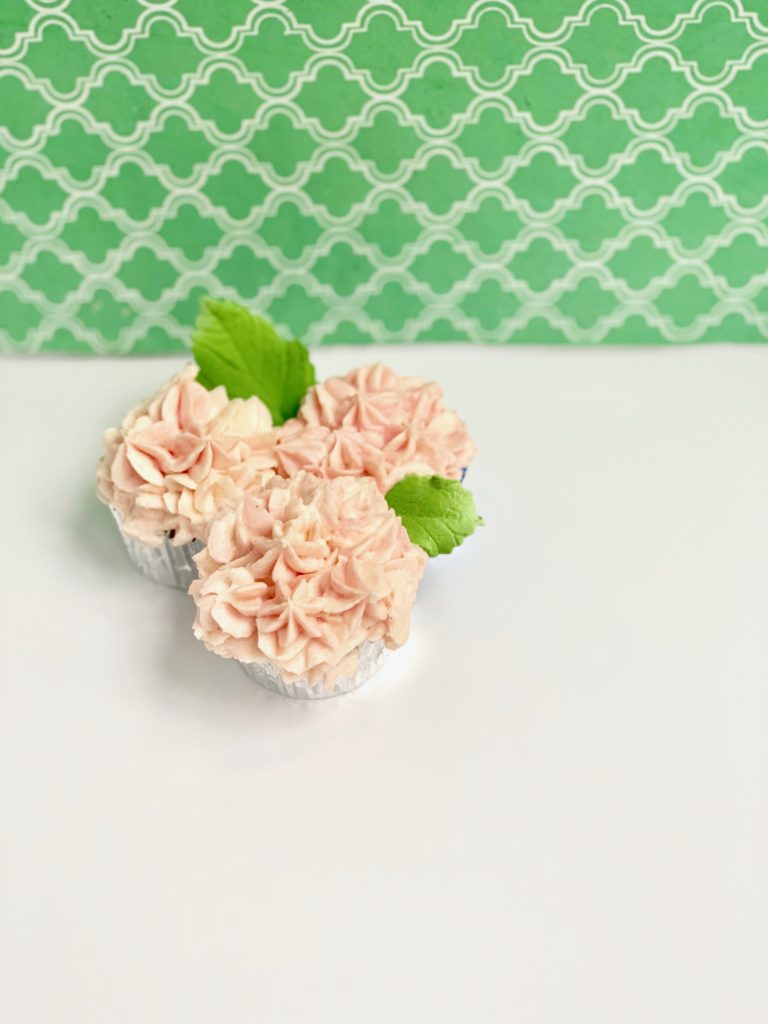
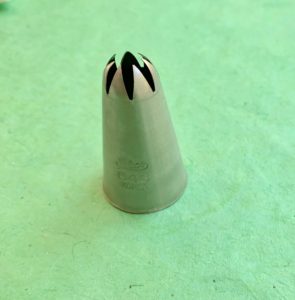
Equipment for the “hyndrangea” cupcakes (leaves are totally optional)
- # 846 star tip (really any star size works)
- Food coloring
- Leaf cutter
- Green fondant
- Leaf veiner (if you are really getting fancy)
The only special instructions here is to vary the different colors of buttercream. For example take a scoop of white or light color buttercream, then add a scoop of a darker shade and then go back to the original. The more shades you have the more interesting the flowers will look.
I like to pipe along the edge of the cupcake first and then do the center but I have done it both ways. Do not make it look symmetrical- remember to make them look natural!
Post photos and tag me @elisastrauss Can’t wait to see what you make!